Ca-901 Power Supply Repair Module
Check delivery at your pincode
Product Queries/Support | Custom Orders | Bulk Discounts | Mon-Sat: 11am - 6pm
Ca-901 Power Supply Repair Module
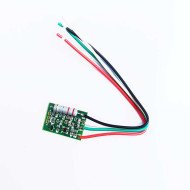
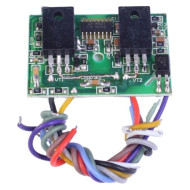
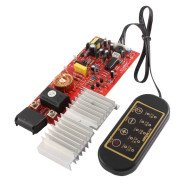
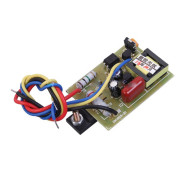
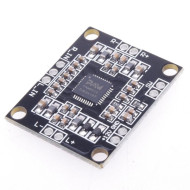
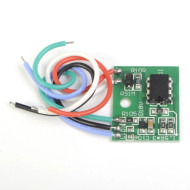
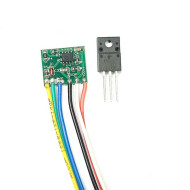
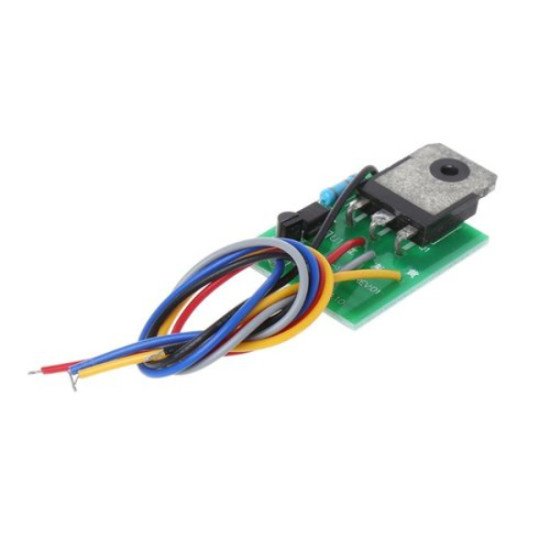
CA-901 General LCD TV Switch Power Supply Module Below 46 inch 12V/24V ITEM NAME:CA-901 General LCD TV Switch Power Supply Module Below 46 inch 12V/24V Step Down CA-901 General LCD TV Switch Power Supply Module Below 46 inch 12V/24V Step Down 24V DC 12V Low Power LCD TV Switch Power Supply Module CA-901 46 Inch Step Down Buck Module for LCD Screen Maintenance Description: Universal LCD TV Switch Module Less Than 46 Inch Input: 12V 24V selective output High performance, low power consumption, small size and easy installation Red line = the entrance Black wire = ground wire Yellow line = switch / brightness adjustment Installation Notes: 1: Remove the original power switch tube or thick module, and fix the module firmly on the original heat sink. 2: Check if the anti-peak absorption circuit is normal and the secondary loads of the transformer are shorted. 3: Connect the red wire of this module to the original power switch tube C pole solder joint (the field effect tube is the D pole, and the thick mold is the C pole of the inner power tube) . 4: Connect the black wire to the hot zone (the negative pole of the large power supply filter capacitor). 5: The yellow wire is connected to the anode of the main power supply (12V or 24V) filter capacitor (main power supply) in the negative pole of the secondary rectifier diode of the transformer Package Included: 1 × CA-901 LCD TV Switch Power Supply Module.1: Remove the original power switch tube or thick module, and fix the module firmly on the original heat sink. 3: Connect the red wire of this module to the original power switch tube C pole solder joint (the field effect tube is the D pole, and the thick mold is the C pole of the inner power tube)
Notes
Note: Images are for representation purpose only, actual product may vary.

